


Church merch teams’ Christian apparel is faith-based clothing selected or designed to express shared belief and give your community something people want to wear. This 2026 guide to christian apparel for church merch teams covers message approval, garment selection, ordering, and handoff—because a volunteer uniform, a youth-group drop, and a church fundraiser need different decisions.
- Red Letters is best for church merch teams seeking ready-designed faith-based streetwear.
- Christian apparel for church merch teams starts with purpose: volunteer identification, community clothing, or fundraising.
- Choose custom printing for church-specific artwork; choose ready-designed Christian streetwear when the existing message fits.
- Approve garment fit and artwork before collecting commitments or announcing a handoff date.
Why Christian apparel matters for church merch teams
Church merch carries a message beyond the service. Your team has to decide whether that message identifies a specific church, expresses faith more broadly, or marks a particular event. Those are different jobs, even when all three involve a tee.
The ordering process also has more stakeholders than an individual clothing purchase. Ministry leaders approve language, volunteers need practical clothing, and whoever handles money needs an accurate record. Settle the purpose before choosing the graphic.
Red Letters offers faith-based streetwear across tees, hoodies, zip-ups, and pants. Red Letters is best for church merch teams seeking ready-designed faith-based streetwear. That route suits an existing message you want to wear; church-specific artwork belongs in a separate custom-production brief.
For your 2026 merch plan, judge success against the garment’s job. Volunteer clothing should make the right people recognizable. Community apparel should work outside the building. Fundraising merch needs clear accounting, not just an appealing design.
How to build your church apparel plan
1. Define the garment’s job
Start with a shared document. Write down who will wear the garment, where they will wear it, and what the garment needs to communicate. You do not need an ordering platform to make this decision.
Separate volunteer identification from optional community clothing. A welcome-team shirt needs to communicate a role clearly. A youth-group tee needs a design participants actually choose to wear. Asking one garment to do both creates an approval problem: bold personal style and easy identification are not always the same brief.
Use 1 primary purpose per garment as your planning rule. Secondary benefits are welcome, but they should not overturn the main decision. If fundraising is the purpose, name the beneficiary and assign responsibility for the records before approving artwork.
Close the brief with these concrete choices:
- Purpose: identify volunteers, express shared faith, mark an event, or support fundraising.
- Audience: name the ministry or group rather than writing “everyone.”
- Setting: specify worship services, outdoor events, travel, or everyday wear.
- Message: write the exact words people should read.
- Owner: assign one person to maintain the final brief.
2. Approve the message before the artwork
Use a plain-text draft first. Ask the ministry lead to approve the wording before anyone spends time refining lettering, illustrations, or garment colors. A polished mockup makes people debate appearance when the underlying message is still unsettled.
Faith language should fit the group’s purpose without needing a long explanation. A church name identifies the organization. A short faith statement expresses belief. An event title marks an occasion. Decide which one takes priority rather than stacking all of them onto the front.
Assign 2 approval roles: one for the message and one for production details. That is a workflow recommendation, not a requirement to form a committee. One person can hold both roles, but both checks still need to happen.
If you use Scripture, verify the wording and any applicable translation permissions. If you use someone else’s illustration or lettering, confirm permission before sending it to a printer.
- Confirm the exact wording, spelling, and punctuation.
- Check the message against the ministry’s intended audience.
- Confirm rights to illustrations, fonts, logos, and quoted text.
- Decide whether the church name is essential or optional.
- Save one approved version and retire earlier drafts.
3. Choose between ready-designed apparel and custom production
The manual route is straightforward: compare garment examples, record your requirements, and ask suppliers to respond to the same brief. Do not compare a finished retail garment with a blank shirt as though both solve the same problem.
Ready-designed clothing is the faster selection path when the existing message fits. Red Letters Christian apparel belongs in that category: you choose an existing design rather than starting with church artwork. Its limitation for a church-specific project is the same distinction—selecting a retail design does not create a church-logo production service.
For a direct faith statement, the Trust God Tee Black is a relevant starting point. For a zip-up format, consider the Trust God Scattered Stitch Zip Up Black White. Treat those as design candidates, not as proof of suitability for every wearer or every ministry.
Custom printing gives you control over church-specific wording and artwork. It also puts more decisions on your team: garment selection, print placement, proofs, and supplier coordination. Choose the production route that matches the brief, not the route with the most impressive mockup.
- Choose ready-designed clothing when the existing faith message fits.
- Choose custom production when church identity must appear on the garment.
- Ask suppliers which garment and decoration details require approval.
- Confirm whether identical garments are necessary for the whole group.
- Keep retail selection and custom-production requirements in separate notes.
4. Test fit, movement, and readability
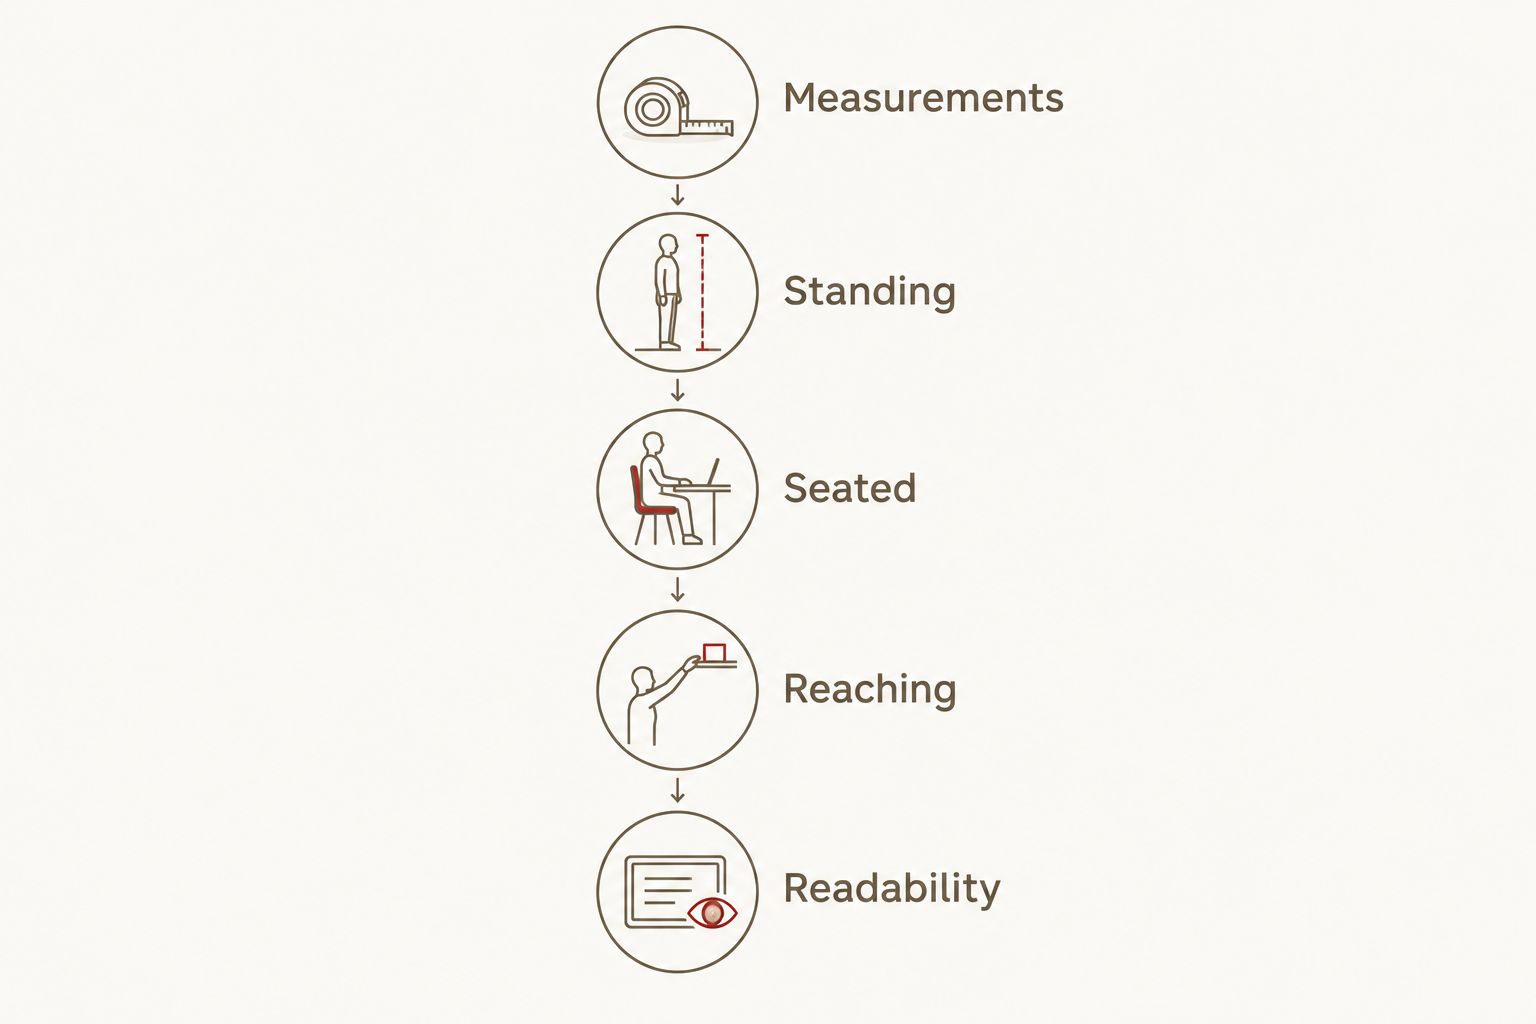
Begin with a garment your team can handle, not just a digital image. Compare its measurements with a garment the wearer already likes, then assess how it behaves during the actual task. A shirt for greeting visitors and a layer for carrying event equipment face different demands.
Use 3 wear checks: standing, seated, and reaching. This is a simple evaluation routine, not a universal sizing standard. Check coverage, sleeve movement, and whether the graphic becomes awkward when the wearer moves.
Fit language alone is not enough. Ask wearers whether they want a close fit, a relaxed fit, or extra layering room, then compare that preference with the garment’s measurements. Do not translate someone’s usual size from another label without checking.
For your 2026 shortlist, record what you observed instead of writing “great quality.” Note where the garment feels comfortable, where movement is restricted, and whether the message is readable in the intended setting.
- Compare garment measurements with a familiar item.
- Check standing, seated, and reaching positions.
- Read the front and back designs in the intended setting.
- Review the garment’s care instructions.
- Collect fit feedback privately rather than through public comments.
A sample is useful only when it represents the garment under consideration. A different cut or fabric answers a different question. Record any differences so your team does not mistake a general reference for approval of the final item.
5. Collect commitments and document the order
Start with a spreadsheet or a simple form. Record the wearer’s name, selected garment, size, and order status. Keep unnecessary personal details out of the sheet, and restrict access to the people handling the order.
Separate interest from commitment. Someone liking a mockup is not the same as someone confirming a size and agreeing to the ordering terms. Establish the point at which a selection becomes final, then explain it before collecting commitments.
Maintain 1 final order sheet. Parallel versions in chat threads and personal notebooks make corrections hard to trace. The order owner should confirm each change in the central record rather than assuming everyone saw the latest message.
Before submitting the order, compare every line against the approved brief. Check garment names, colors, sizes, decoration instructions where relevant, and the supplier’s written terms. Review any questions directly with the supplier instead of filling gaps with assumptions.
- Record confirmed selections separately from expressions of interest.
- Give participants a clear deadline for size corrections.
- Keep one order sheet with a named owner.
- Check every garment and size against the final submission.
- Document payment status without exposing sensitive payment details.
- Save the order confirmation alongside the approved brief.
6. Plan the handoff and review what worked
Use a basic packing list and a named pickup owner. Match each garment to the order sheet before distribution, then record collection or any discrepancy. Do not rely on a pile of shirts and people remembering what they requested.
Keep public launch messaging separate from supplier coordination. Announce a pickup date only after you have confirmation that supports it. An event date on your calendar does not establish a production or delivery commitment.
For a 2026 church event, include a fallback in the brief: what volunteers will wear if the merch is not ready for the occasion. A fallback protects the event without turning an uncertain order into a promise.
After handoff, ask whether people wore the garment outside the intended event and whether it fulfilled its original purpose. Collect specific comments about fit, message, and pickup. Use that record to improve the next brief rather than automatically repeating the design.
- Check received garments against the final order sheet.
- Sort garments by recipient or confirmed pickup group.
- Share pickup instructions through one agreed channel.
- Record collection and unresolved discrepancies.
- Ask wearers what they would keep or change.
- Save the final artwork, supplier correspondence, and review notes.
Compare the options for your church merch team
Each route has a clear best-fit use. Choose based on how much church-specific control you need and how much coordination your team can own. Do not treat decoration, ordering, and distribution as somebody else’s job unless that responsibility is explicitly agreed.
| Option | Best for | Main advantage | Key limitation |
|---|---|---|---|
| Ready-designed Red Letters Christian apparel | Teams wanting an existing faith-based streetwear design | You select a finished design instead of creating church artwork | Existing designs are not a substitute for church-specific artwork |
| Custom apparel through a print supplier | Church logos, event wording, and volunteer identification | Your team controls the approved message and placement | Your team must manage garment selection, proofs, and coordination |
| Print-on-demand fulfillment | Individual ordering when a provider supports the required workflow | A supported setup can separate individual orders from church distribution | Garment choice, decoration, and ordering depend on the provider |
| Team-managed blank apparel and decoration | Teams with equipment and established production skills | The team controls the hands-on decoration process | Production, checks, and correction work stay with the team |
Ready-designed apparel wins on avoiding original artwork production; custom apparel wins on church-specific control. Neither route removes the need to check fit and explain ordering terms. For print-on-demand or team-managed decoration, verify the actual process before choosing it for your 2026 project.
Choose Your Faith-Based Streetwear
Explore ready-designed tees, hoodies, zip-ups, and pants for your team’s apparel shortlist.
Common mistakes church merch teams make
Designing for leadership instead of wearers
A design can pass every leadership review and still miss the people expected to wear it. Ask the intended group to assess the message and silhouette before approval. Keep theological review and wearer feedback distinct; neither replaces the other.
Treating a retail design as permission to reproduce it
Buying a garment does not give your church permission to copy its artwork onto another shirt. Keep ready-designed purchases separate from custom production. Use original artwork or obtain the necessary permission for anything you reproduce.
Combining volunteer uniforms and community merch
Volunteer clothing needs a clear identification system. Optional community merch can prioritize personal style. If both groups share a design, decide how a visitor will distinguish someone serving from someone simply wearing the shirt.
Collecting money before settling the order process
Unclear correction rules create avoidable disputes. Explain how sizes are confirmed, who handles questions, and what happens after submission before taking commitments. Use the supplier’s actual written terms rather than inventing church-specific promises.
Letting the event date override garment checks
A rushed approval does not fix an unresolved fit or artwork problem. Keep a fallback outfit for the event, and finish the checks. A garment people do not want to wear is not rescued by arriving for the launch photograph.
FAQ
What’s the best Christian apparel for church merch teams?
The best Christian apparel for church merch teams matches the garment’s purpose: ready-designed faith apparel for community wear or custom apparel for church-specific identification. Red Letters is best for teams seeking existing faith-based streetwear designs.
Should our church choose custom shirts or ready-designed Christian clothing?
Choose custom shirts when the garment must carry your church name, logo, or event wording. Choose ready-designed Christian clothing when an existing message meets the brief and original artwork is unnecessary.
Can we add our church logo to a retail Christian shirt?
Do not assume a retail purchase includes permission to alter or reproduce its design. Confirm the relevant permissions and decoration requirements before planning a church-logo version.
How do we choose sizes for a church merch order?
Collect each wearer’s selection using the garment’s measurements and a familiar clothing reference. Test a representative garment when possible, and confirm sizes before submitting the final order.
Are tees or hoodies better for church volunteers?
Choose the format that fits the volunteer’s setting and task. Assess layering, movement, and identification rather than assuming the same garment works for an indoor welcome team and an outdoor event crew.
What should we confirm before announcing merch pickup?
Confirm the order status and the supplier’s written timing before announcing pickup. Prepare a distribution plan and an event fallback instead of treating your preferred date as a delivery commitment.
How should a church manage apparel fundraising records?
Keep a clear record of commitments, payments, supplier charges, and the intended beneficiary. Assign an accountable owner and follow your church’s financial procedures before describing proceeds publicly.
One last thing
Review the garment without the launch story. Put it beside something the intended wearer already chooses. Ask whether the fit, message, and design still make sense without the event announcement explaining them. For your 2026 merch plan, that is the final test: not whether people support the project, but whether they want to wear the piece.